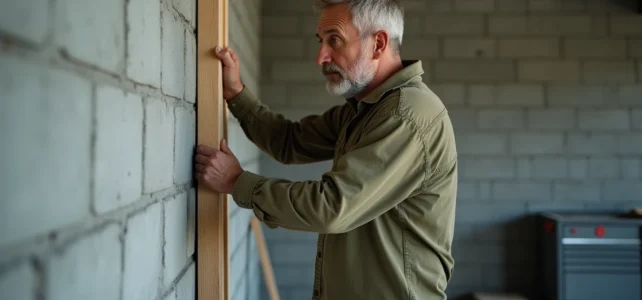
Fixing a rafter to a hollow concrete block wall is not just about choosing a plug. The mechanical resistance primarily depends on the exact location of the drilling within the block, as well as the installation protocol. We regularly observe pullouts on site related to anchoring in the full cavity, where a slightly offset fixing by a few centimeters in a chain would have held without difficulty.
Identifying solid areas on a hollow concrete block wall
A standard concrete block has thin partitions and hollow cavities, with resistance to pullout varying significantly depending on the drilling point. Systematically look for chains and concrete columns before any marking, as this radically changes the holding capacity of the fixing.
We recommend mapping the wall in advance with a material detector. Horizontal chains (at the top and bottom of the wall, sometimes at mid-height) and vertical stiffening columns are the only reliable supports for a rafter subjected to permanent leverage.
If the rafter layout does not coincide with a solid area, two options are available: slightly offset the rafter installation to reach a chain, or use chemical anchoring with a sleeve in the cavity. The first solution remains preferable whenever the project’s geometry allows it. To fully understand how to fix a rafter to a concrete block wall, this identification step conditions the rest of the intervention.
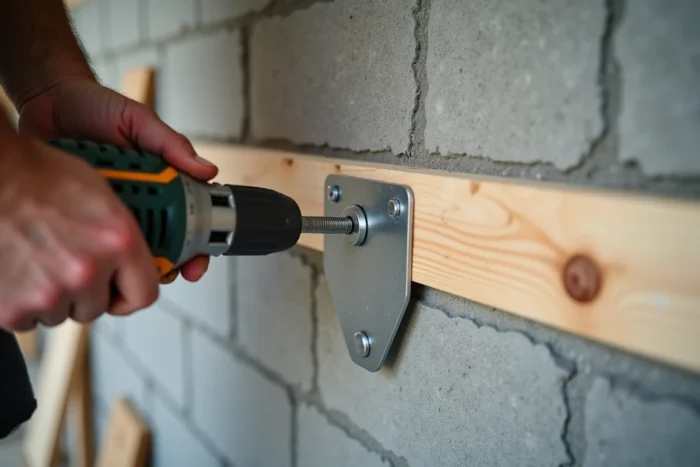
Chemical anchoring with sleeve: fixing protocol on hollow concrete block
Chemical anchoring with a sleeve is the reference method on hollow concrete block for heavy linear loads such as a supported rafter. Long nylon or metal expansion plugs, long used by default, do not guarantee sufficient load transfer when drilling falls into a cavity.
Simple rotation drilling
Percussion should be avoided on hollow concrete blocks. It shatters the internal partitions of the block and compromises the anchoring even before the resin injection. Set the drill to simple rotation, using a concrete bit of the diameter recommended by the resin manufacturer.
The drilling depth must penetrate the first partition of the concrete block so that the sleeve can expand in the cavity. Mark the depth on the bit with adhesive tape to ensure consistency along the entire length of the rafter.
Cleaning the hole: the most neglected step
A hole that is not dusted significantly reduces the shear and pullout resistance of the anchoring. We apply a minimum cycle of two passes: vacuum, brush with a suitable diameter brush, then vacuum again. This “vacuum-brush-vacuum” protocol directly conditions the holding capacity of the rafter over time.
Concrete dust, fine and abrasive, creates a film between the resin and the substrate that prevents chemical adhesion. Skipping this step on just one fixing point is enough to create a weak link along the entire rafter line.
Injection and placement of the sleeve
The sleeve (a plastic or metal mesh sleeve) is inserted into the hole before injection. It prevents the resin from flowing into the cavity and forces the creation of an anchoring bulb in the hollow of the block. Without a sleeve, the resin leaks, and the threaded rod rests in an almost empty shell.
Inject the resin from the bottom outward to expel the air. Insert the threaded rod by turning it a quarter turn to distribute the resin. Respect the polymerization time indicated by the manufacturer before any loading.
- Simple rotation drilling at the exact diameter recommended by the resin manufacturer
- Double cleaning cycle (vacuum, brush, vacuum) before inserting the sleeve
- Injection of the resin from the bottom to the opening, then insertion of the threaded rod with slow rotation
- Complete wait for the polymerization time before tightening the rafter
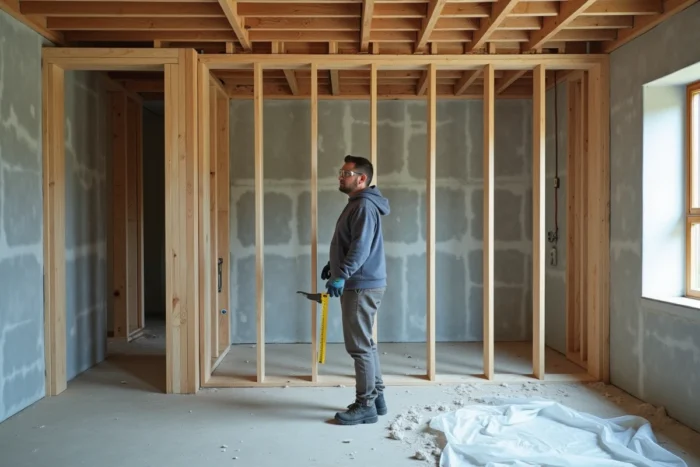
Fixing a rafter to a concrete chain: metal plugs or bolts
When the rafter rests on a chain or a stiffening column, a metal expansion anchor bolt is sufficient and simplifies the installation. Solid concrete allows for classic percussion drilling, using an SDS concrete bit.
The diameter of the bolt depends on the section of the rafter and the load being supported. For a roof rafter, a common rod diameter offers sufficient resistance in shear and pullout, provided that the minimum distances from the edge of the chain are respected.
Drill to the nominal depth, dust off (even on solid concrete, dust affects proper expansion), insert the bolt, and tighten to the recommended torque. Excessive tightening can crack the chain, especially if the rebar is nearby.
Shimming and aligning the rafter against the concrete block wall
A concrete block wall is never perfectly flat. The mortar joints create irregularities that prevent continuous support of the rafter. Installing the rafter without shimming generates localized stresses on the extreme fixings.
We place hardwood or rot-proof composite shims between the wall and the rafter, at each fixing point. The shimming compensates for flatness discrepancies and ensures even tightening along the entire length.
- Check the plumb of the wall with a level or mason’s rule before marking
- Prepare shims of different thicknesses to compensate for joint variations
- Tighten the fixings progressively by alternating points (a technique known as “star tightening”) to avoid twisting the rafter
For rafters exposed to the elements (canopies, awnings), insert a damp-proof course or bituminous felt between the wood and the concrete block. This barrier prevents capillary rise that accelerates the rotting of the rafter foot, even on class 3 treated wood.
The choice between chemical anchoring and metal bolts is therefore made on a case-by-case basis, fixing by fixing, depending on what is behind the coating. A well-fixed rafter on a hollow concrete block holds as firmly as an anchoring on solid concrete, provided that the identification of support areas and the hole cleaning protocol are never overlooked.